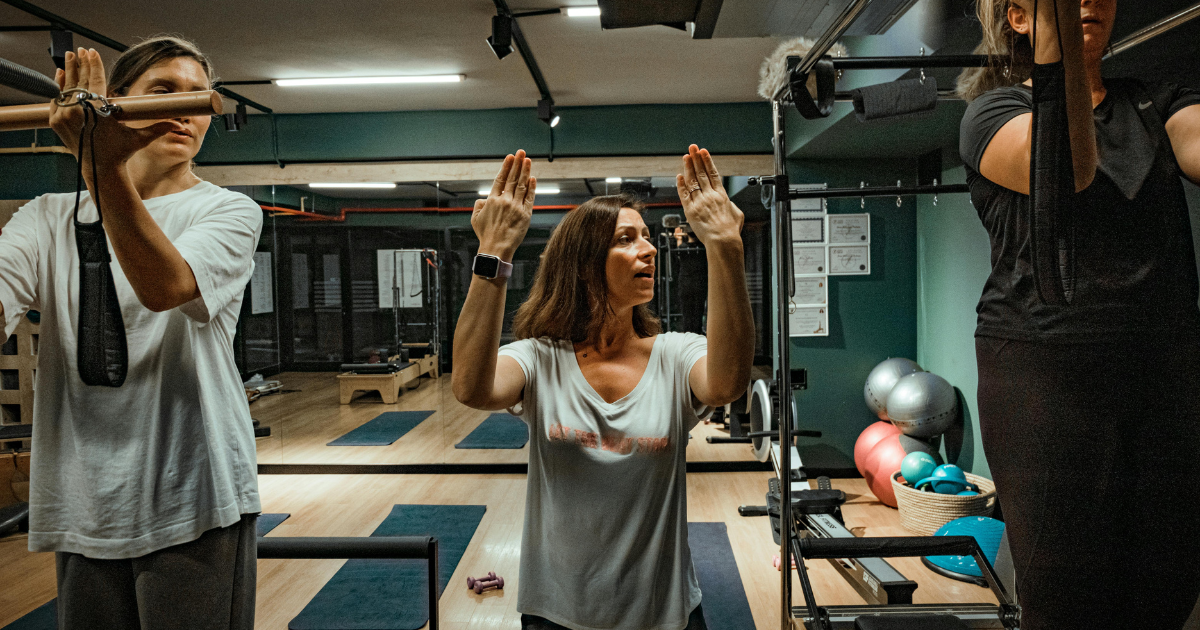
Learn About “ CrossFit pull-up Bar” & Get Inspired.
Introduction
Are you ready to bring your CrossFit workouts home? One of the best pieces of equipment you can add to your home gym is a pull-up bar. Not only does it help build upper body strength, but it also enhances your overall fitness routine. In this guide, we’ll walk you through how to make a CrossFit pull-up bar that’s sturdy, safe, and tailored to your space.
Materials Needed
Before we dive into the construction, let’s gather all the materials and tools you’ll need:
List of Materials
Steel or galvanized pipe (1-inch diameter)
Flanges (matching the pipe size)
Elbow joints (if needed)
Screws and wall anchors
Wood (for freestanding bars)
Tools Required
Measuring tape
Drill and drill bits
Wrench
Saw (if cutting wood)
Level
Choosing the Right Location
The first step in building your pull-up bar is deciding where to install it. There are a few options to consider:
Indoor vs. Outdoor Placement
Indoor: Ideal for consistent use, protected from weather.
Outdoor: Great for fresh air workouts but requires weather-resistant materials.
Space Requirements
Ensure you have enough clearance around the bar for a full range of motion.
Measure the height of the ceiling or doorway to ensure proper installation.
Types of Pull-Up Bars
There are several types of pull-up bars you can build, each with its own set of advantages.
Doorway Pull-Up Bars
These are the simplest to install and require minimal tools. They fit snugly in most doorways and can be removed easily.
Wall-Mounted Pull-Up Bars
More permanent and stable, these bars are mounted directly onto a wall, providing a solid base for your workouts.
Ceiling-Mounted Pull-Up Bars
Ideal for basements or garages with exposed beams, these bars are mounted to the ceiling, allowing for more vertical space.
Freestanding Pull-Up Bars
Perfect for those who have space and want a versatile setup. These bars can be placed anywhere and often include additional features like dip stations.
Step-by-Step Guide to Building a Doorway Pull-Up Bar

Measuring the Doorway
Measure the width of your doorway.
Ensure you have at least 1-2 inches of clearance on each side for the bar.
Cutting and Assembling the Bar
Cut your pipe to match the width of the doorway.
Attach flanges to each end of the pipe using a wrench.
Installing the Bar
Position the bar in the doorway and mark where the screws will go.
Drill pilot holes and secure the flanges with screws and wall anchors.
Step-by-Step Guide to Building a Wall-Mounted Pull-Up Bar

Measuring and Marking the Wall
Measure the desired height and width of your pull-up bar.
Mark the positions for the flanges on the wall.
Cutting and Assembling the Bar
Cut the pipe to the desired length.
Attach flanges and elbow joints (if necessary).
Mounting the Bar on the Wall
Drill holes at the marked positions.
Secure the flanges with screws and wall anchors.
Step-by-Step Guide to Building a Ceiling-Mounted Pull-Up Bar

Measuring and Marking the Ceiling
Measure the distance between ceiling beams.
Mark the positions for the flanges.
Cutting and Assembling the Bar
Cut the pipe to fit between the beams.
Attach flanges and elbow joints (if needed).
Mounting the Bar on the Ceiling
Drill holes at the marked positions.
Secure the flanges with screws and anchors.
Step-by-Step Guide to Building a Freestanding Pull-Up Bar

Designing the Structure
Sketch a design for your freestanding bar, considering height and stability.
Plan for a wide base to prevent tipping.
Cutting and Assembling the Frame
Cut the wood to the desired dimensions.
Assemble the frame using screws and brackets.
Securing the Base
Attach additional supports to the base for stability.
Ensure the structure is level and secure.
Safety Tips
Ensuring Structural Integrity
Regularly inspect the bar for any signs of wear or damage.
Tighten all screws and bolts periodically.
Proper Use and Maintenance
Avoid swinging or excessive movement that could stress the structure.
Clean the bar regularly to prevent rust and wear.
Cost Considerations
Budget-Friendly Options
Use galvanized pipe and basic wood for a cost-effective build.
Shop around for deals on materials.
High-End Materials and Finishes
Opt for stainless steel or powder-coated materials for durability.
Consider professional-grade grips and padding.
Customizing Your Pull-Up Bar
Adding Grips and Padding
Use athletic tape or foam grips for added comfort.
Install padding around the flanges to protect walls and ceilings.
Painting and Decorating
Paint the bar to match your home gym decor.
Add stickers or decals for a personalized touch.
Training Tips for Beginners

Basic Pull-Up Techniques
Start with assisted pull-ups using a resistance band.
Focus on proper form: engage your core and avoid swinging.
Progressive Training Plans
Gradually increase the number of reps and sets.
Incorporate negative pull-ups to build strength.
Advanced Exercises
Muscle-Ups
Combine a pull-up with a dip to transition above the bar.
Requires explosive strength and coordination.
Kipping Pull-Ups
Use momentum to complete more reps.
Common in CrossFit for high-intensity workouts.
Weighted Pull-Ups
Add weight using a dip belt or weighted vest.
Increases resistance and builds more strength.
Maintaining Your Pull-Up Bar
Regular Inspections
Check for any loose parts or damage before each use.
Tighten screws and bolts as needed.
Cleaning and Upkeep
Wipe down the bar with a damp cloth to remove sweat and dirt.
Use a rust-preventative spray for metal bars.
Relevant Post
The Benefits of CrossFit Training Transform Your Body and Mind in 2023
Conclusion
Building your CrossFit pull-up bar is a rewarding project that can enhance your fitness routine. Whether you opt for a simple doorway bar or a robust freestanding setup, the effort you put into creating a safe and functional piece of equipment will pay off in your workouts. So grab your tools, follow this guide, and start building your path to greater strength and fitness!
Other Relevant
The 6 Best Pull-Up Bars For Doorways, Kipping, And More (2024)


One thought on “How to make a CrossFit pull-up Bar: Best Guide in 2024”